Pages

Showing posts with label vegan. Show all posts

Saturday, December 20, 2014

Saturday, August 9, 2014

Single Serving Vegan Brownie

A quick post to share something so delightful with you.  

I just discovered this amazing single serving brownie tonight and immediately came to the computer to share it with you guys.  

So easy to make.
So fun to make.
A healthy twist on a brownie.
And...no huge pan of left overs to trip you up all week.
Pin It!

Thursday, August 7, 2014

Vegan Quinoa Chili

I simply love this dish and we eat year round - even in the hot summer time!  Why? Because it is fairly simple to make and makes a ton! I always have plenty left over for lunches the next day and then can freeze a good portion for a later dinner. So it saves me time in the long run. My kids eat it too.  They like theirs topped with cheese and I'm definitely ok with that.

Here is What You Need:
1/2 cup quinoa, rinsed
1 cup water
1 tablespoon olive oil
1 small onion, chopped
3 cloves garlic, minced
1 large carrot, peeled and chopped (I forgot this in the pictures but it does add a nice bit to the chili)
2 celery stalks, chopped
1 green bell pepper, chopped
1 red bell pepper, chopped
1 medium zucchini, chopped
2 (15 ounce) cans black beans, drained and rinsed
1 (15 ounce) can red kidney beans, drained and rinsed
3 (15 ounce) cans diced tomatoes
1 (15 ounce) can tomato sauce
2-3 tablespoons chili powder, depending on your taste (we used 1 because I can't tolerate it!)
1 tablespoon ground cumin
Salt and black pepper, to taste
Optional:  1 jalapeno pepper, diced

Here's What You Do:
1.  Prep your quinoa by combining with the water in a medium sauce pan and cooking over medium heat until the water is absorbed. This takes about 12-15 minutes. Set aside.
2.  In a large pot (very large), heat your olive oil over high heat. Then add in your onions and cook until translucent (about 5 minutes).  Stir in your garlic, jalapenos (if using), carrots, celery, peppers and zucchini.  Cook all of these until the veggies are nice and tender which takes about 10 minutes or so.


3.  Now add in your black beans, your kidney beans, tomatoes, and tomatoes sauce.  Stir in the quinoa you cooked previously. 
4.  Add in your seasonings and then simmer on low for about 30 minutes.
Pin It!

Thursday, July 10, 2014

Cauliflower "Fried" Rice

This is an awesome recipe a challenger shared with me in one of my recent Clean Eating Challenges.  I was skeptical at first - very skeptical.  Would this be worth having to go through getting the cauliflower in the right format. And would it really tasted like "fried" rice?  But I love trying new recipes so I went for it and the answers to those two questions are yes and no.

YES this recipe is totally worth it and not difficult at all.  
No it isn't like a big bad bowl of fried rice from your favorite Chinese restaurant but it is an awesome substitute for a fried rice dish if you are working towards a clean healthy life style.  
(There isn't anything wrong with the occasional bowl of fried rice from the restaurant but definitely not something we can do all the time so enter cauliflower!)

If you have a food processor this recipe is a piece of cake. If you don't have one - GET ONE. I resisted having a food processor for a while but I finally picked up a $30 at Target and it has opened up a world of recipes to me.  So get a little one today, come home, make this recipe.

Pin It!

Wednesday, July 9, 2014

Frozen Peanut Butter Treat (aka smudgies)

I have been using this recipe for months now and many of my challengers LOVE it. Kids love it, adults love it, and all the while we are eating something clean and healthy. I decided it was time for me to write it up and get it archived on my own personal little recipe book.  I only put my favorites on this blog so that I can find them easily and share them easily with you guys.  So here you go!  An awesome little treat for summer.

Pin It!

Sunday, July 6, 2014

Bulk Whole Wheat Pancake Mix

I am posting this here so I can find it easily next time. For some reason I always lose this recipe. Well, I'm not sure it is a recipe but I love having this mix on hand.  I use this recipe to create a bulk supply of whole wheat pancake mix. When I am ready for a morning of pancakes (or pancake poppers), I just get one cup of my mix, one cup of milk, one egg and boom - pancakes are ready!
(To make this vegan simply substitute 1/4 cup applesauce for the egg)

So here is what you have to combine to have the mix ready for when you need it:

Combine
1.  5 cups whole wheat flour
2.  3 cups unbleached all purpose flour
3. 1/2 cup white sugar
4.  2 1/2 tablespoons baking powder
5.  4 teaspoons salt
6.  4 teaspoons baking soda

Whisk these together and store in an airtight container


And here is a little bonus recipe - pancake poppers. I make a batch of these in my mini muffin tin and we have them for several days. You can serve with warm syrup or even top with a little peanut butter for added protein!


Original recipe for bulk mix here: http://allrecipes.com/recipe/whole-wheat-pancake-mix/

Hope this helps you in the chaos that we call breakfast time!


Pin It!

Thursday, July 3, 2014

Kid Bake Vegan Cookies

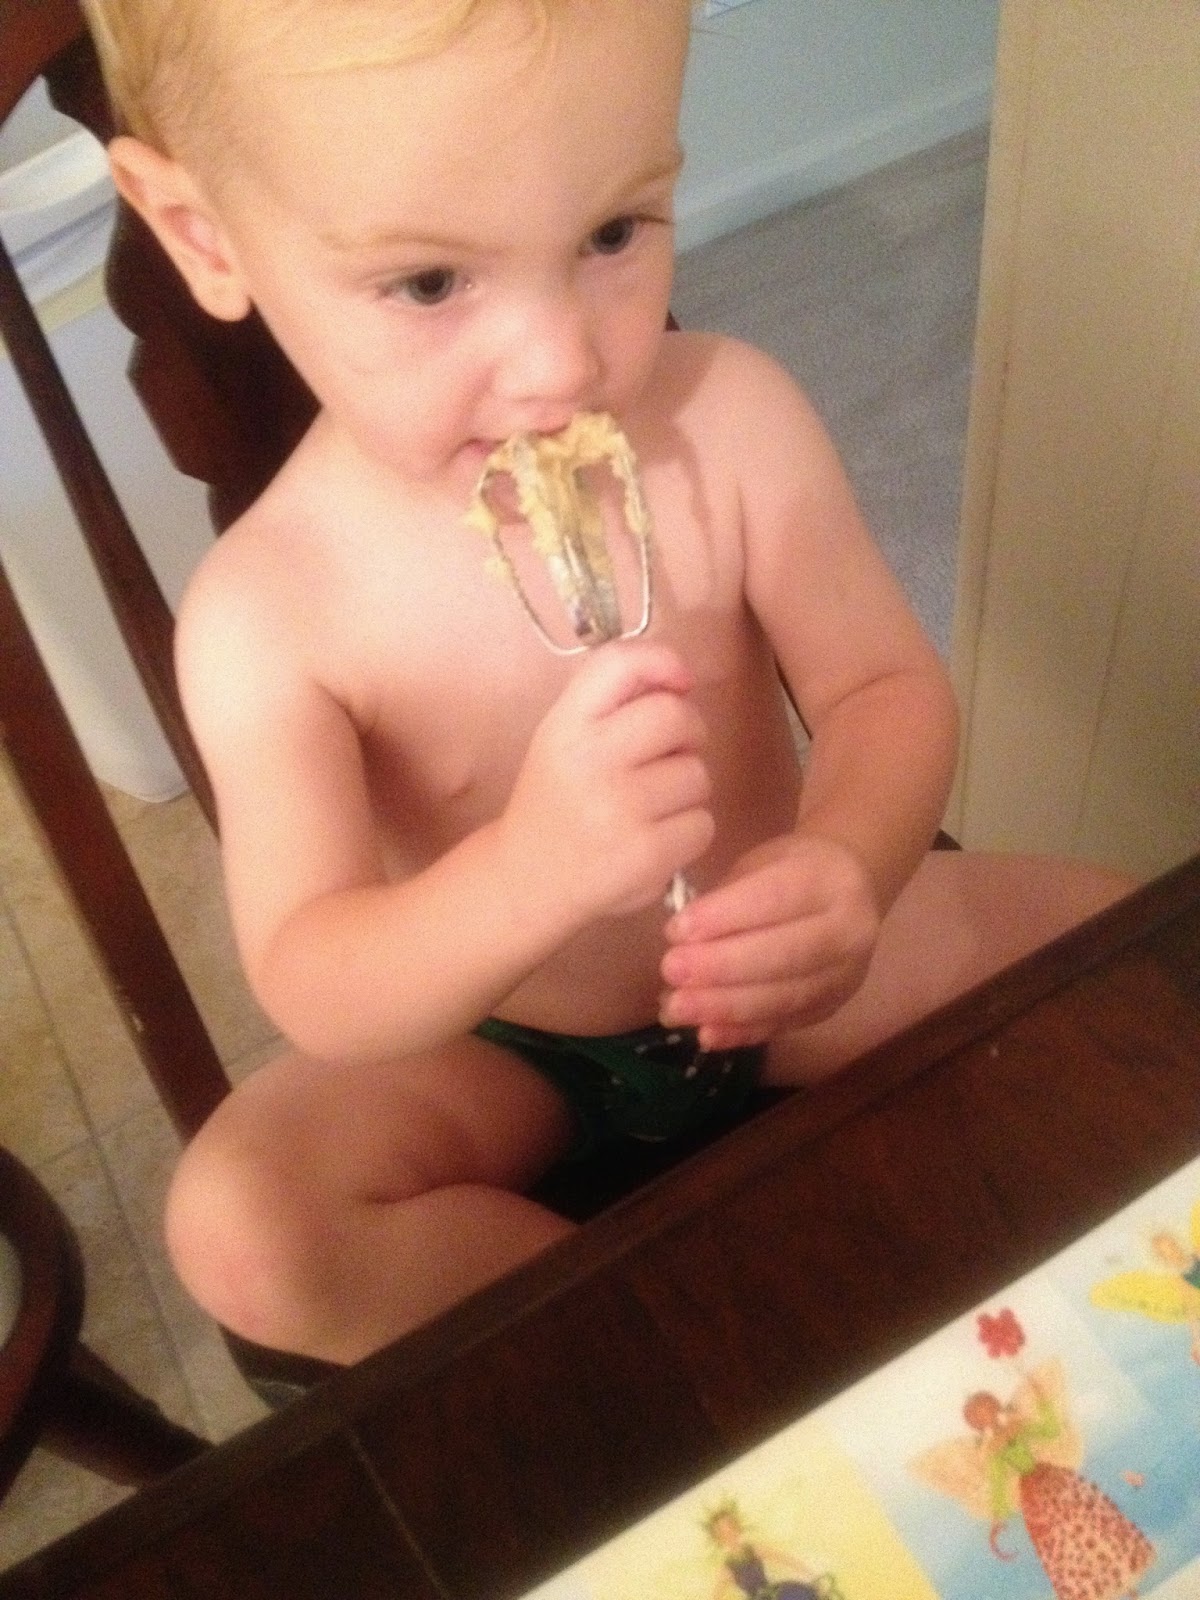
I saw this recipe on Pinterest and saved it for a rainy day. I didn't know the rainy day would come so soon but luckily we had the ingredients on hand.  The recipe claimed that this was a great recipe to let kids do on their own because there were no eggs involved (meaning kids could lick away on the spoons without any worries).  

I let my 4 year old try this thing out. She did the dumping, stirring, mixing, and even putting on the pan.  My son was invited but he was more interested in:
1.  playing trains
2.  aggravating his sister while she did the cooking


Alas, we were able to make them and surprisingly enough they were delicious!!! My husband had at least 4 after dinner (I'm not condoning that I'm just saying he did it).

So the pictures for the post are not really of the recipe but more of my daughter cooking and the mess she made. But you know what? It was storming and this made her forget that we were stuck inside so I call it a win/win!

Here's What You Need:
-1 1/4 cup all purpose flour
- 1/2 tsp baking soda
- 1/8 tsp salt
- 1/2 cup salted butter softened (Ok I didn't have a whole stick of butter but it was close and I melted it because I am lazy)
- 1/4 cup white sugar
- 1/2 cup honey
- 1/2 cup chocolate chips

Here's What You Do:
1.  Preheat oven to 300 and grease a cookie sheet to prepare
2.  Combine the flour, baking soda, and salt and set aside (be prepared to see flour fly!)


3.  Combine the butter, sugar, and honey and blend.


4.  Add in the chocolate chips and stir or blend but don't over mix
5.  Drop onto baking sheet (these will spread so spread them out - we didn't and we had a lot of separating to do) and bake 18-20 minutes (mine took 20)

I really was surprised at how yummy these are. I just figured it would be something the kids would nibble on for fun but I enjoyed them. I think it will be my go-to chocolate chip recipe from now on.


See no worries? They can lick away and I don't care. Pardon that we are in our swim suits in these pics. We made it half way to the pool before the thunder kicked in.  Let me know what you think if you try these out. And show me the mess your kids make baking!  Mine had a blast but it did require some clean up for sure.

Enjoy!

 Original recipe here:  http://www.smartschoolhouse.com/eats-and-sweets/chocolate-chip-cookie-recipe-for-kids/2

Pin It!

Wednesday, June 25, 2014

Sweet Potato Paradise Casserole

I have been wanting to try this for a while and finally decided this week was the time to jump in and give it a whirl.  You know, it is one of those recipes I found online but kept putting it off. Well put it off no more! This thing was amazing.

Let me preface - it takes some work up front but it is one of those dishes that you can prep while your kiddos eat lunch (and watch cartoons - am I the only one who does that?). Then you can just pop it in the oven at 5:00 and be ready for dinner.  So it does take some prepping but the outcome is delicious.
Pin It!

Thursday, May 15, 2014

Peanut Butter Cookies

I pack my hubby's lunch for work every night. It is an easy way for us to use dinner left overs and save a few bucks (plus I figure if I have to eat at home - he can't be going out every day too right?) I digress.  I usually pack him a couple of cookies as an after lunch treat and we were out of his favorite kind this week, Fig Newtons. In a scramble, I looked up easy cookie recipes and found this gem. They are super easy to make, dairy free, grain free, and delicious.

Pin It!

Saturday, April 26, 2014

Oatmeal Breakfast Cookies

These breakfast cookies are a big hit in my clean eating challenge groups. They are filling, delicious, and kid friendly.  Not only that but these cookies are completely clean and vegan so you know what you are eating and you know it is good for you.  I give these to my kids without any concerns.  I do need to admit - we don't actually eat them for breakfast - we eat them all day long!  I think they would make a great breakfast warmed up with a dab of peanut butter on top but we haven't tried it yet. We usually have these as an afternoon snack or a treat after lunch.  They really are a versatile cookie and you can use whatever you have in the pantry to make it work for you. I am going to include the original recipe but I'm writing up how I make them personally (and you know it is going to include some chocolate).

Pin It!

Tuesday, March 25, 2014

Super Easy (not just for breakfast) Breakfast Pizza

When I stumbled across this recipe I had no idea it would be so easy.  So so so easy.  Today it is snowing (again), my kids are sick, and we are bored.  I decided it would be a good day to pull up the thousands of recipes I have saved on the internet and start trying one out.  Elli and I decided the breakfast pizza was the way to go.  The reason this works is because you will most likely have all of the ingredients on hand.  If not, it is super versatile and you can make it however you want.

No more talking!  Let me give you this recipe that will 100% become a staple on our list. I envision it for dessert, for fun lunch, even for dinner (who doesn't love breakfast for dinner!?)

Here is what you need: (kinda because you can really do this however you want!)
-1/2 cup whole wheat flour
-1 tsp baking powder
-2 stevia packets (I didn't have anymore stevia so I used another sweetener we had on hand) or 2 tablespoons sugar
-1/2 cup water, juice or milk (I used 2% milk but to keep it vegan use almond or soy)
-2 tablespoons applesauce (or coconut oil, mashed bananas, vegetable oil...)
-1/8 tsp salt
-You can add any spices you wish. I added a dash or two of cinnamon but you could do pumpkin pie spice, nutmeg, you name it!
-And the fun part:  Add in a few handfuls of whatever you want.  We added in 1/2 banana sliced and couple handfuls of mini chocolate chips. You could do blueberries, strawberries, walnuts, raisins, chopped apples, and the list goes on!

 Here is what you do
-Grease a round pan really well so it doesn't stick.
-Mix all ingredients together and then pour into prepared pan
-Place in NON PREHEATED oven at 425 for 10 minutes or until a toothpick inserted comes out clean (mine took exactly 10 minutes)
It looks delicious even without toppings!

Now have fun with toppings. Today I melted the Cinnamon Cheese spread I had and spread that on top (just one wedge). Then I added sliced strawberries and powdered sugar.  Seriously - this is breakfast? Both kids loved it and ate it up.  
This was delicious on top but I'm sure any cream cheese would work.
Who WOULDN'T want to eat that for breakfast?

OK you try your breakfast pizza and tell me what you add to yours.  I'm thinking next time I'll add walnuts and top with bananas and cinnamon. Or what about mini chocolate chips topped with nutella and bananas?  Oh man or what about mini chocolate chips topped with peanut butter and banana.  Yep I have a lot of baking to do!  I may very well be making this tonight for dessert while my kids are sleeping since they ate it all this morning and didn't want to share very many bites with their mom.

I want to let you know the original recipe came from Chocolate Covered Kate. I love her blog. I use it all the time. She takes desserts and makes them healthy.  She is all about chocolate and all about health. She should be my best friend. Really.  I haven't tried a recipe from her site that I didn't love.  Check it out!

http://chocolatecoveredkatie.com/2010/04/12/the-breakfast-pizzert/

Happy Breakfast!


Pin It!

Monday, February 24, 2014

Chickpea Salad Sandwich

Here is a quick little sandwich idea for you.  Sometimes Pinterest gets the best of me and I find all kinds of interesting recipes to try. This recipe just really jumped out at me as something easy I could make for lunch that would give me some variety too.  So I went for it and I liked it - even more than I thought I would. I love to fix this and have it in mini whole wheat pita with a fresh salad.  It doesn't take more than 5 or so minutes to make but gives you a lunch straight out of a deli!

Here's What You Need:
-  15 ounce can chickpeas drained and rinsed
-  spoonful of capers (optional)
I love adding these in - give it an extra kick!
-  2 stalks celery chopped

-  1/2 medium onion chopped
-  big spoonful of vegan mayonnaise (if you are trying to keep it vegan - if not use normal!)
I love this stuff!!!

Here's What You Do:
1.  Mash the beans first (I use a potato masher to do it!)
2.  Add in capers and mayo. If using a processor pulse these with the beans. Otherwise just stir it in!
I added in some green peas we had in the fridge! That is the beauty of this, you can really mix it up.
3.  Stir in the celery and onion
4.  Serve on top of your bread of choice and top with mustard, lettuce or your favorite sandwich toppers

I seriously love to whip this up on a Sunday after church for me and the hubs!  Let me know what you think.  If you are going vegan or mostly vegan, this is a great substitute for your standard chicken salad sandwich when you just crave that comfort food!


Pin It!

Friday, February 21, 2014

Crock Pot Indian Spiced Chickpea Stew

That is quite a long title for quite an easy dish. This isn't the easiest crock pot thing I make because it requires (wait for it) the chopping of TWO vegetables.  So seriously, it is pretty easy in the scheme of things. I like to make this while my kids eat breakfast and let it simmer on low all day long. By lunch my house smells like our favorite Indian Restaurant downtown.  I will definitely include the link to the original recipe. I had to modify a bit yesterday because I didn't have all ingredients on hand, but that is the beauty of this recipe - you can really make it to fit your style.

Here's What You Need:


  • 2 cups water and 2 cups veggie broth (or really just 4-5 cups of liquid)
  • 1 can diced tomatoes 
  • 1 can chickpeas, rinsed and drained
  • 1 can kidney beans
  • 1/2 cup quinoa, rinsed
  • 1 medium sweet potato, chopped
  • 1-2 stalks celery chopped
  • 3 cloves garlic, minced
  • 1 teaspoon turmeric
  • 2 teaspoons cumin
  • 1 teaspoon turmeric 
  • (Ok I messed around with these because they are my favorite spices - check the original recipe for other alternatives)
  • salt, to taste
Pin It!

Wednesday, February 5, 2014

Vegan Blondie Brownie

I hesitate to put the word vegan in the title because I don't want any skeptics.  These things are GOOD - really good. How do I know? I had my father in law try "a brownie" and he liked them. After that I told him they were made from chickpeas and he still ate several more. So trust me when I say, these things are good! So good in fact that I made them again today because I just HAD to have them. And yes, I HAD to have them.  This is actually a quick recipe and I plan on making them often simply because my kids think they are cookies but they are so clean and healthy they can eat them all day and I don't care!

Please please please give it a try - you won't be disappointed.  

Sorry for the lack of pictures - I had a sick kid and couldn't take pictures while prepping but I really wanted to get this recipe to ya!

Here's What You Need:
- 1 can garbanzo beans (rinsed and drained!)
- 3/4 tsp baking powder
- 1/8 tsp baking soda
- level 1/4 tsp salt
- 3/4 cup brown sugar
- 2 tsp vanilla extract
- 1/4 cup quick oats
- 1/4 cup peanut butter
- 1/2 cup chocolate chips 

Here's What You Do:
- Preheat oven to 350
- Blend all the ingredients (except chips) until very smooth in a good food processor (not a blender)
- Mix in chips and scoop into a greased 8x8 pan and sprinkle a few chocolate chips on top
- Bake for about 30 minutes
 (they will look a little under cooked when you take them out but they firm as they cool and you don't want them to get hard!)

Please let me know what you think of these. Try them! Be brave!  You will like them - I promise.  


Don't forget our challenge. This thing is awesome! 21 Days to focus on nutrition, clean eating, and how to live a healthy balanced life style.  Comment here for more info!! 


Original recipe here:  http://chocolatecoveredkatie.com/2011/05/18/chocolate-chip-blondies-and-theyre-good-for-you/  
Check out her blog - awesome good stuff there!


Pin It!

Tuesday, January 28, 2014

Peanut Butter and Jelly Cookie for Kids (or you!)

So you know I eat my three ingredient cookies everyday (ok usually two a day!) But I don’t feel guilty about that. They are only about 45 calories a piece and made from completely clean ingredients –no dairy, no oil, just deliciousness. 

Well while scrolling through pinterest during our snow days here recently I saw a new twist on the same cookie idea. The difference? These are peanut butter and jelly cookies instead of chocolate chips cookies. Now I love chocolate chips but not everyone in my family is quite as addicted so I thought this might be a good change for them.  And my kids love pb&j so why not a pb&j cookie?

So here is the recipe. It is easy, quick, and you can feel great about your kids having one or two cookies a day if they are made with these ingredients!

Pin It!

Saturday, January 25, 2014

Crockpot Steel Cut Oats

Well hello there!

Team ACT has been holding down the fort here at OurGreeneHome while I finished baking the bun in the oven.  That's right, Little Two was born about 2 weeks ago!  This pregnancy was a little tougher than the last, but the adjustment period afterwards has been a TON better!  We are so in love with our newest addition!

That being said, it's now time to break out all of the freezer meals I prepped before Little Two's arrival... way back in December.  This morning it was some steel cut oatmeal I made in the crockpot.  Not last night.  Not this morning.  But waaaay back in December.  And all I had to do this morning was reheat my serving in the microwave and add my favorite topping!  Super easy - super delicious and nutritious!  

Make these beauties one afternoon, freeze, and have a hearty oatmeal breakfast any day of the week!


Pin It!

Monday, January 20, 2014

No Bake Peanut Butter Bars

As I have mentioned before, I am constantly working to get the processed foods out of my house and start making my own things for the kids and for me.  This isn't something I'm doing over night. It is a small steady change that I work on. I am busy, my kids are crazy some days, and some days we just need a quick easy snack. But then there are times when I can try out a new recipe and I embrace those opportunities.  This was one of them.  We tried out making the no bake peanut butter bars.  Now you know I posted another peanut butter bar recently here, and this is very similar. The difference is this one is sturdier.  You know for a real snack - a nice heavy snack that will tide you over. The Cheerio one is a bit light and definitely not as filling as this one.  I like both because I like to mix it up.  

Here is what you need:
1 cup peanut butter
1 cup honey
3 cups quick cook oats

Here is what you do:
1  Melt the honey and peanut butter over medium heat until smooth
2.  Mix in the oats and remove from heat
3. Stir well
4.  Press into 9x9 pan
5.  Let cool (I refrigerate mine but that is how I like them. They do not have to be refrigerated!)


Verdict? These were delicious and perfect for everyone. The kids like them for snacks, I eat them for a night time treat, and Daddy takes them in his lunch to work.  Score! Clean, easy, and home made. 

Enjoy!


original recipe here:http://www.food.com/recipe/natural-no-bake-peanut-butter-energy-bars-163297?layout=desktop
Pin It!

Wednesday, January 8, 2014

Easy Side Dishes and Snacks - Make Your Own Chips

I'm really excited about this post because this is something I've been wanting to do for a long time. I have always been too scared to venture out into the world of "make my own chips."  I always thought it would be too time consuming, or my family wouldn't like that, or it would be too time consuming (yes I repeated but time is a big factor for me when cooking).  

Over the holidays however, I had a tiny bit more time to play in the kitchen so I tried out some recipes and what I found is - it isn't that time consuming at all. I mean, yes it takes more time to slice a sweet potato than throw a bunch of frozen fries on a baking sheet. But it doesn't take THAT much more time and in the end, we are being better to our bodies so it is worth it.  

I have compiled here the three recipes I tried and that are now in our permanent weekly rotation. I'm sorry there aren't many pictures. I honestly didn't think that I would post about them (figuring they wouldn't be blog worthy) BUT they are!

First recipe:  Zucchini Chips
Here Is What You Need:
-1 large zucchini
-2 tablespoons olive oil
-Sea salt

Here Is What You Do:
1.  Preheat oven to 225
2.  Line two baking sheets with parchment paper
3.  Slice zucchini thinly (my thinner slices were crispy and my thicker slices a bit more juicy but I liked both!)
4.  After slicing, sandwich the slices between paper towels and wring out any excess water
5.  Place on baking sheet being careful not to overlap
6.  You are supposed to pour olive oil in a bowl and brush on with a pastry brush. I didn't have a pastry brush so I just drizzled it on top of the slices while they were on the pan.
7.  Sprinkle the salt over the baking sheet.  Do not over salt them because as they cook, they will shrink so putting too much salt initially can make them VERY salty by the end.
8.  Cook for two hours until edges are brown and the chips are crispy and not soggy.

I loved these. We actually ate all of the serving in one evening. I left them out to cool but they never made it to the fridge.  The only thing I don't like about this one is the extended cooking time. Still, if you pop them in during the afternoon, they are ready for a dinner side dish!


Pin It!

Monday, January 6, 2014

Chickpea Spinach Burgers - Seriously - I Promise They Are Delicous

Ok we are always looking for variations on burgers in our house because our kids love them.  For our kids we slap a piece of cheese on top and they will eat it up no matter what type of veggies we put in there. I stumbled across this gem the other day and we love it. I know it sounds strange, but give it a try and see what you think.  I like to make mine while the kids eat lunch, store in the fridge, and cook up right before dinner.  

Here's What You Need:
-1 medium onion
-3 cloves garlic crushed
-1 15 oz can chickpeas drained and rinsed
-1 bag of spinach leaves
-1 carrot grated
Here is my carrot - I got tired of grating and you can see where I just sliced after a bit!
-1.5 tablespoon soy sauce 
- 1 tsp cumin
- 2 tablespoons of peanut butter
- 1 tablespoon of nutritional yeast
-1/2 cup whole wheat flour
(can add in 1 tsp hot sauce, but I leave that out)

Here's What You Do:
1.  Saute the onion in water on a pan over medium heat until soft.  
Then add in your garlic and cook for another minute.


2.  Add in chickpeas, spinach, and carrot and cook until the spinach is fully wilted and the carrot is soft.


3.  Dump all of this into a mixing bowl and add in the soy sauce, cumin, peanut butter, nutritional yeast, hot sauce (if using), and flour.


4.  Allow this mixture to cool (this is where I pop mine in the fridge and finish right before dinner).
5.  In spoonfuls about 1/3 cup full, form the mixture into thick patties and lightly pan fry using extra virgin olive oil over medium heat until browned on both sides.


I served mine up with a whole wheat bun, a bit of spinach on top (you can never have too much spinach), a sweet potato and steamed veggies. I forgot to take a final picture because I was too hungry and these smelled too good.  This meal is delicious and satisfies my need for a juicy sandwich in a healthy way. Come on and give it a try! I want to hear what you think.  

ps - sorry for the pictures. I know I need a better camera than my phone to really make these look as good as they are.  Soon - soon I'll upgrade my camera!

Love, 


We have a new challenge starting up January 27th. I'm so excited because it is obvious (I mean look at those before and afters) that this stuff works. I love seeing my challengers reach the goals they are setting for themselves.  So proud of each of them and I want YOU to be my next before/after success story. Leave a comment here and I'll send you more information.  


Pin It!